Estimated reading time: 8 minutes
You know that moment, you are in your favourite Mexican restaurant trying to decide what to order and a server steams past with a sizzling plate of fajitas. There’s the plume of smoke, the smell of onions, peppers and meat fills the air, all you can hear is the sizzle and your mind is instantly made up! Fajitas are a sensory experience and a beloved Mexican dish that is surprisingly easy to make at home and so much better than what you can make from a meal kit. Here we will show you everything you need to know about fajitas including how to make fajitas and our tips for making the best fajitas. See all fajita recipes here, or click to buy fajita ingredients.

What Are Fajitas?
First off you may be wondering, how do you even say Fajitas? Being a Spanish word they are often mispronounced by English speakers. The thing to remember is that “ji” is pronounced as a ‘hee’. So it’s “fa-hee-tas” as opposed to “fa-gee-tas“. Either way, people will know what you mean and the main thing is not how you say fajitas but how your fajitas taste!
Fajitas were invented by Mexican ranch workers in Texas who were often paid with what was considered the throwaway cuts of meat from a steer including the tough cut skirt steak (hangar steak in the UK) nicknamed “fajas” which roughly translates to “belt”. They would tenderise the meat with lime juice and grill turning a tough cut into something delicious.
Sometime around the 1970s in Texas, Fajitas evolved into the dish we know today – sizzling steak with thinly sliced peppers and onions. With their popularity, the dish expanded beyond the original grilled steak and now you will find versions with chicken, prawns and lots of different veggie options.

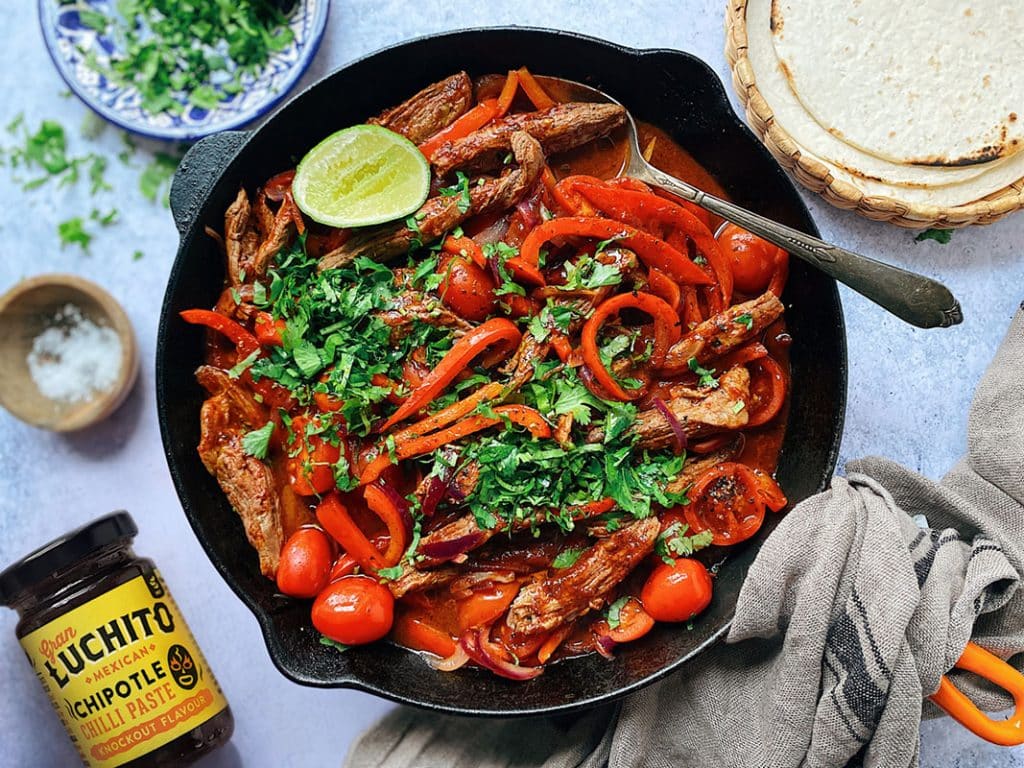
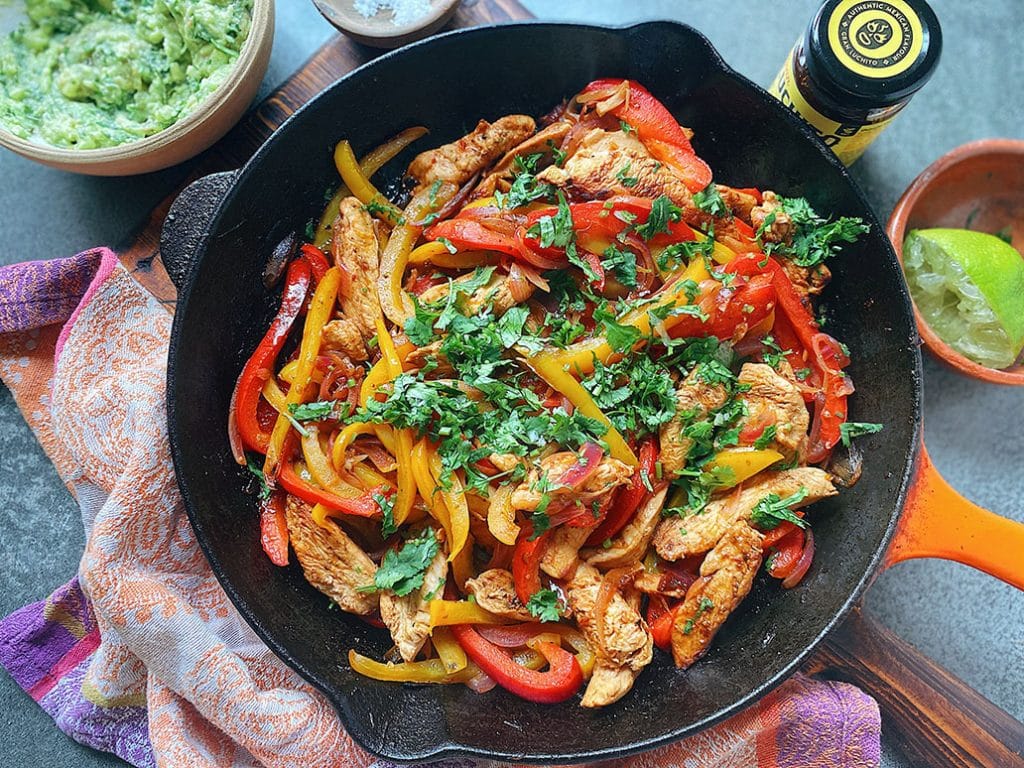
How To Make Fajitas
The fun part! Once you have gathered your ingredients you can get going.
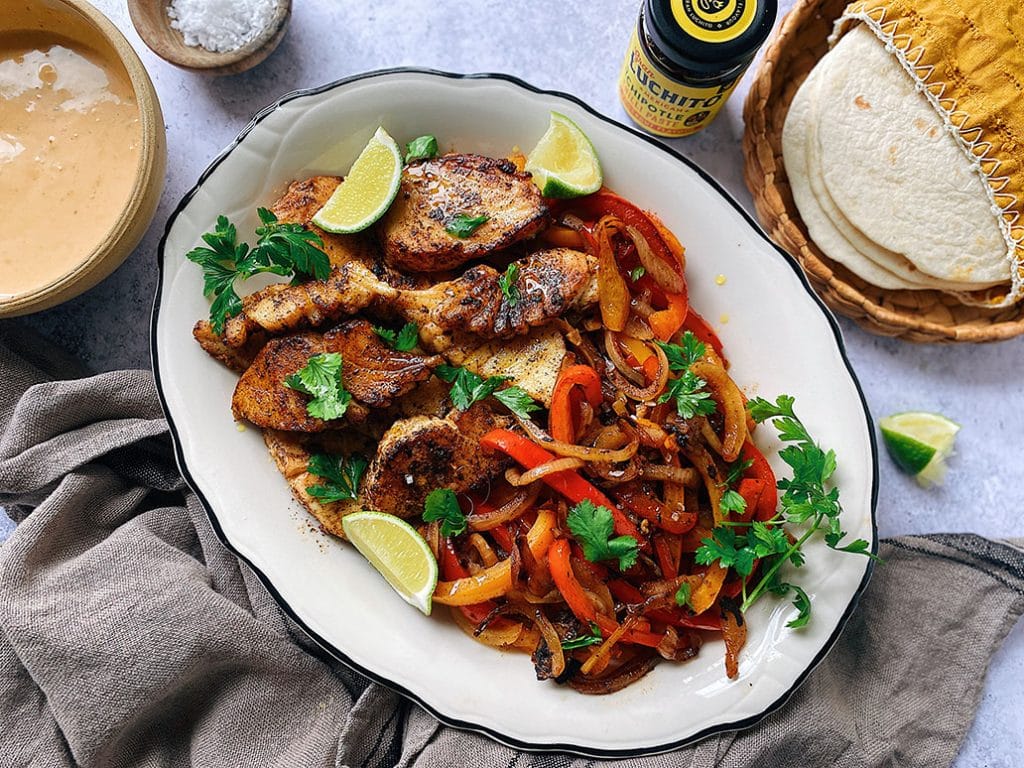
- The first step is to marinate your meat to add flavour. Add marinade to thinly sliced meat. A bit of freshly squeezed lime juice, olive oil, a dash of oregano and Chipotle Paste make for a delicious fajita marinade. Our Garlic and Guajillo Fajita & Taco Mix is also great for adding flavour without the heat! Marinate for at least an hour if you can to infuse meat with flavour. If you want to get on with it, then our Fajita Simmer Sauce is a great way to add a delicious mild roasted pepper flavour without having to marinate.
- Thinly slice peppers & onions.
- Fry peppers & onions in a large frying pan for 5 mins until they char slightly.
- Add the meat. Continue to fry for 5 mins.
- Now it’s time to get out the tortillas and toppings and build your fajitas.
Chef’s Tip: we think a cast-iron pan is the best for creating that sizzle at home! Place into the oven for 15-20 minutes to ensure it is sizzling hot.
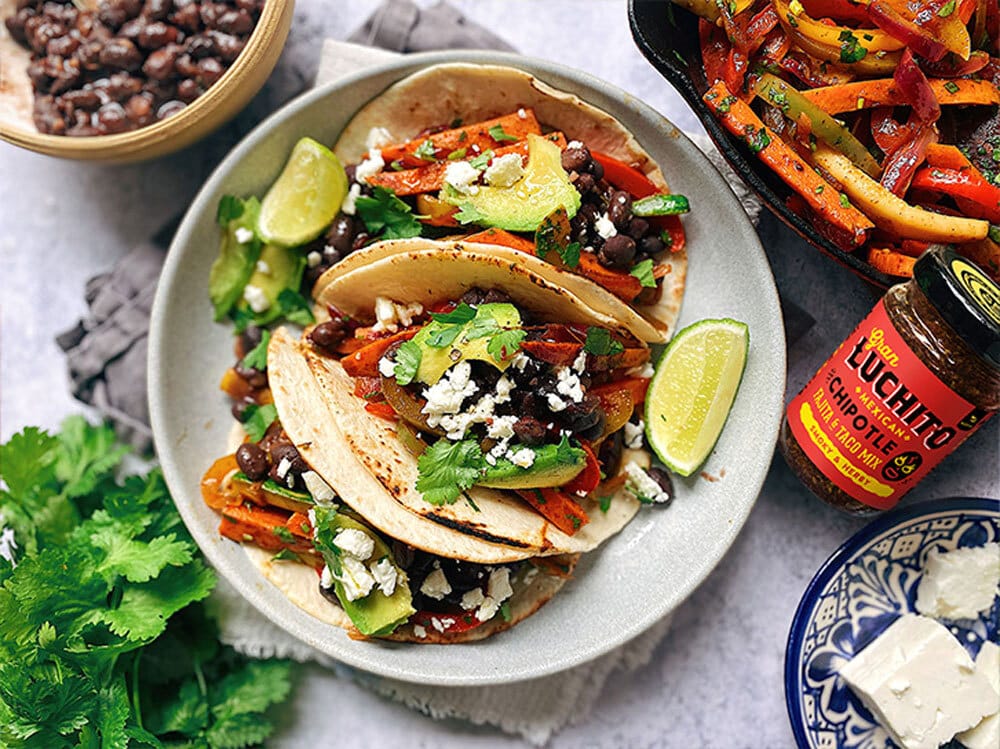
Our Favourite Fajita Recipes


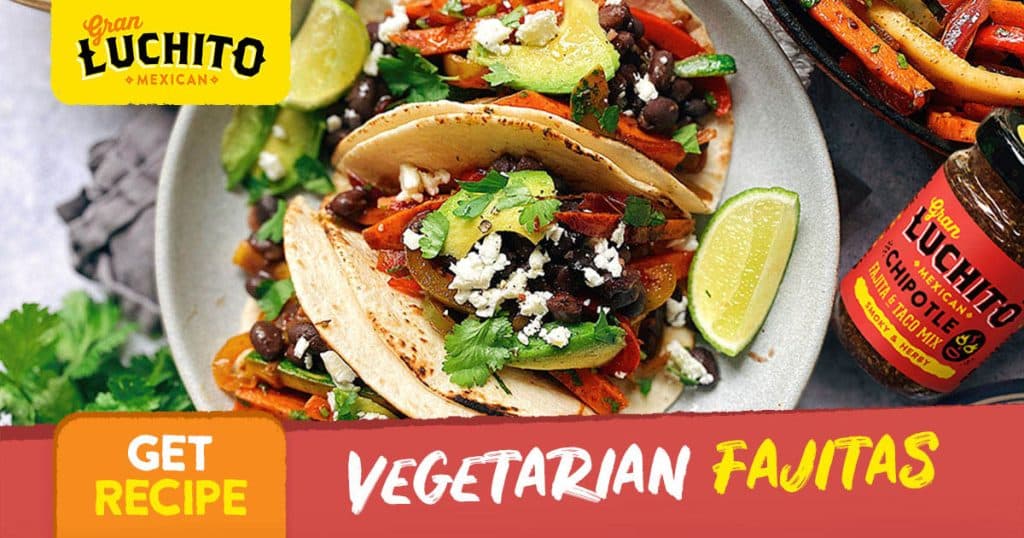
For more: check out our Fajita Recipes.
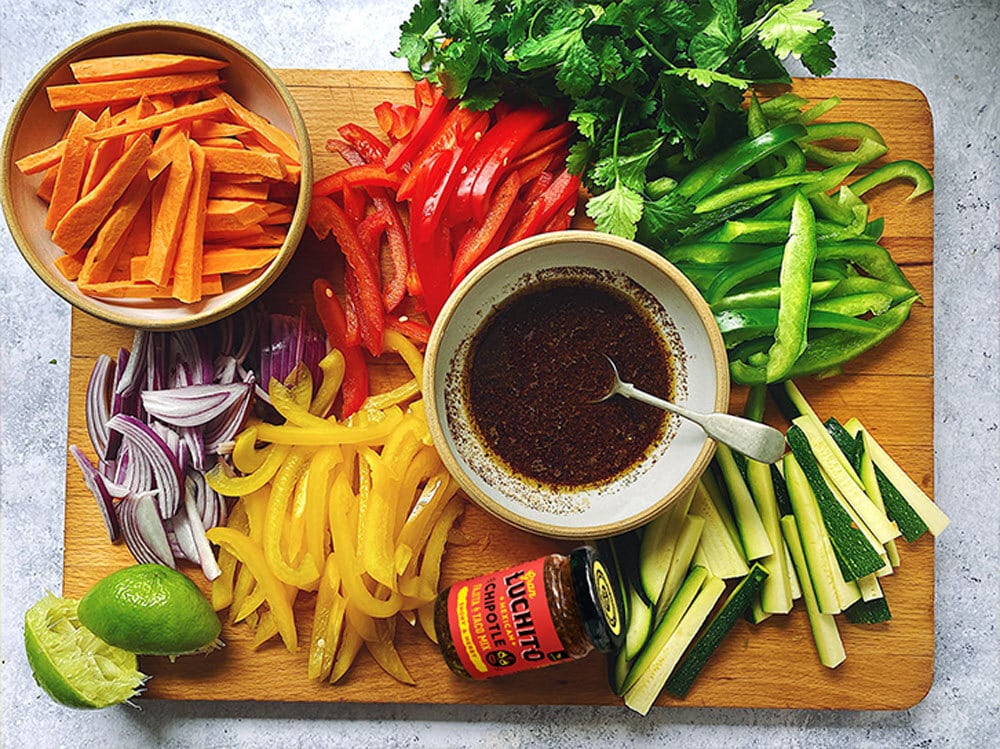
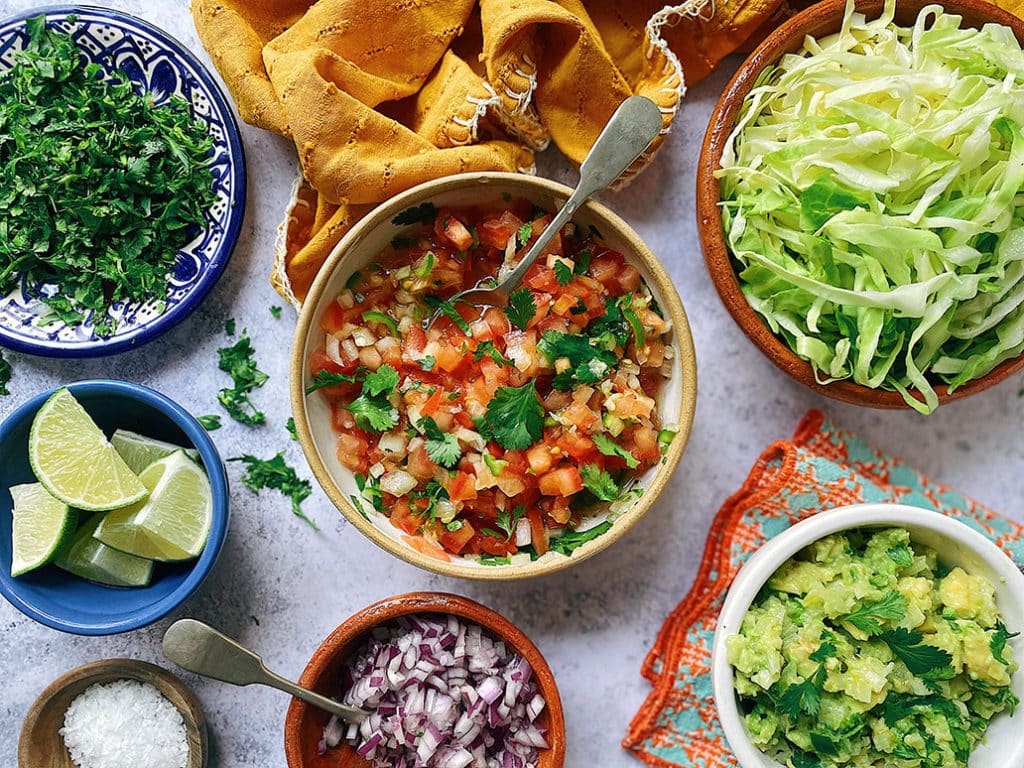
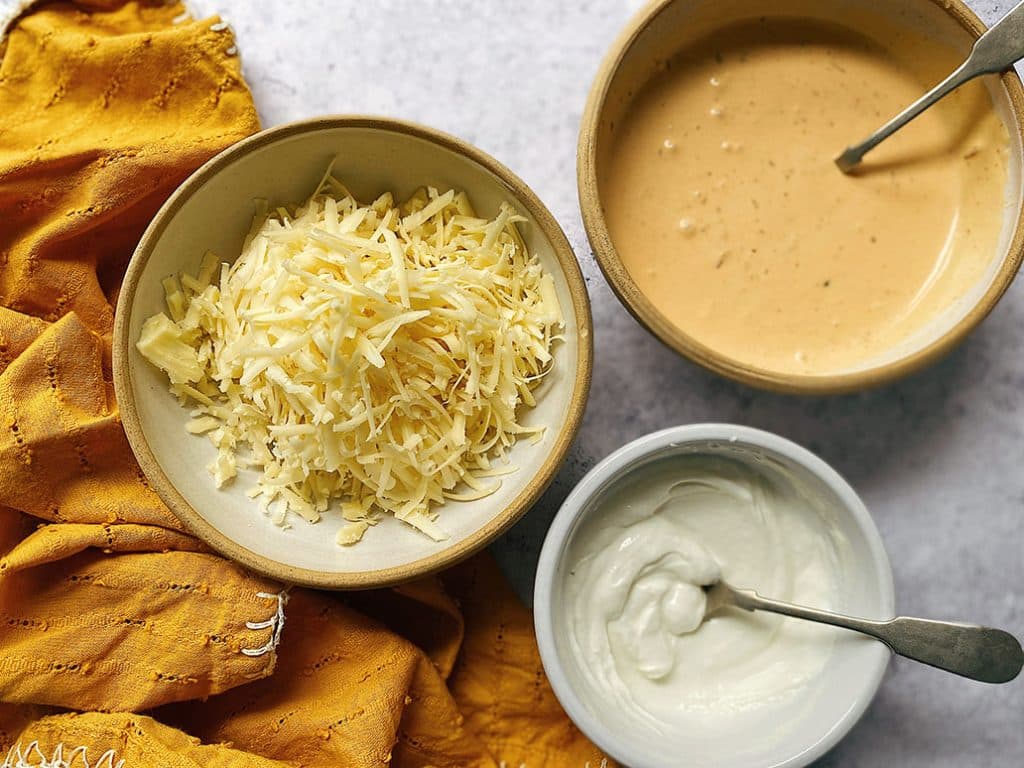
Fajitas Ingredients
Your fajitas are sizzling ready, and this is now the other bit of magic when it comes to them! It’s time to get your hands on some Soft Taco Wraps, meat, and toppings, and assemble your meal. We like to lay everything out so everyone can make theirs just as they want.
- Grated Cheese
- Shredded Iceberg Lettuce
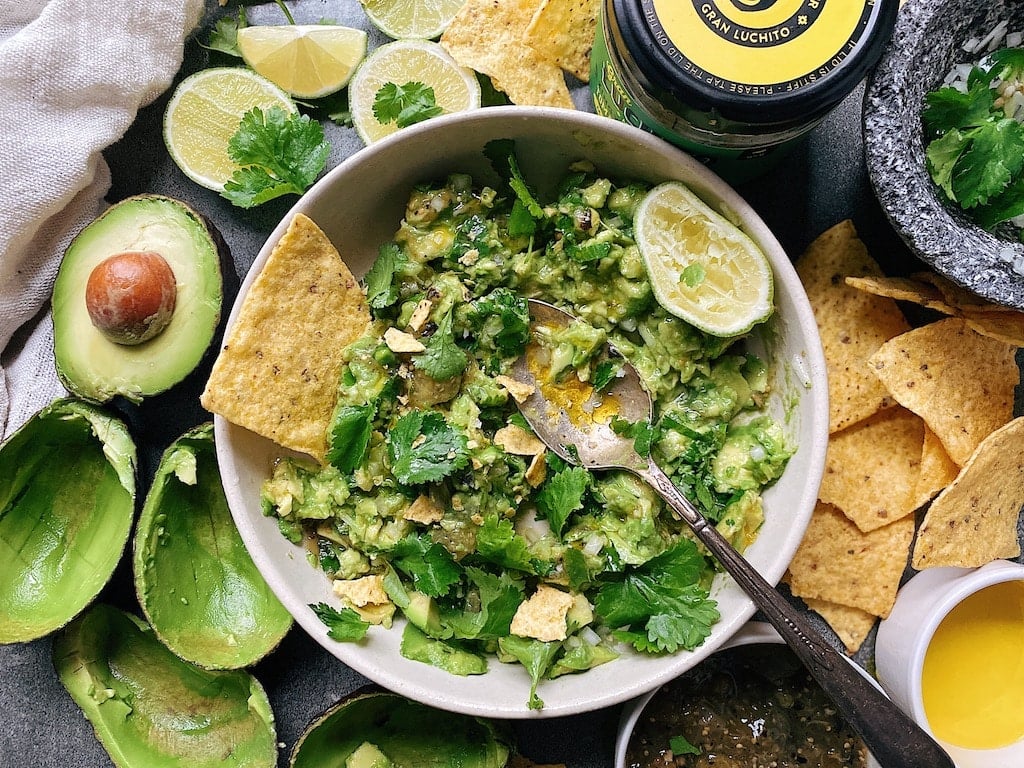
- Guacamole
- Sour Cream (or spicy Chipotle Crema)
- Chopped Coriander
- Jalapeno & Pineapple
- Fire Roasted Serranos
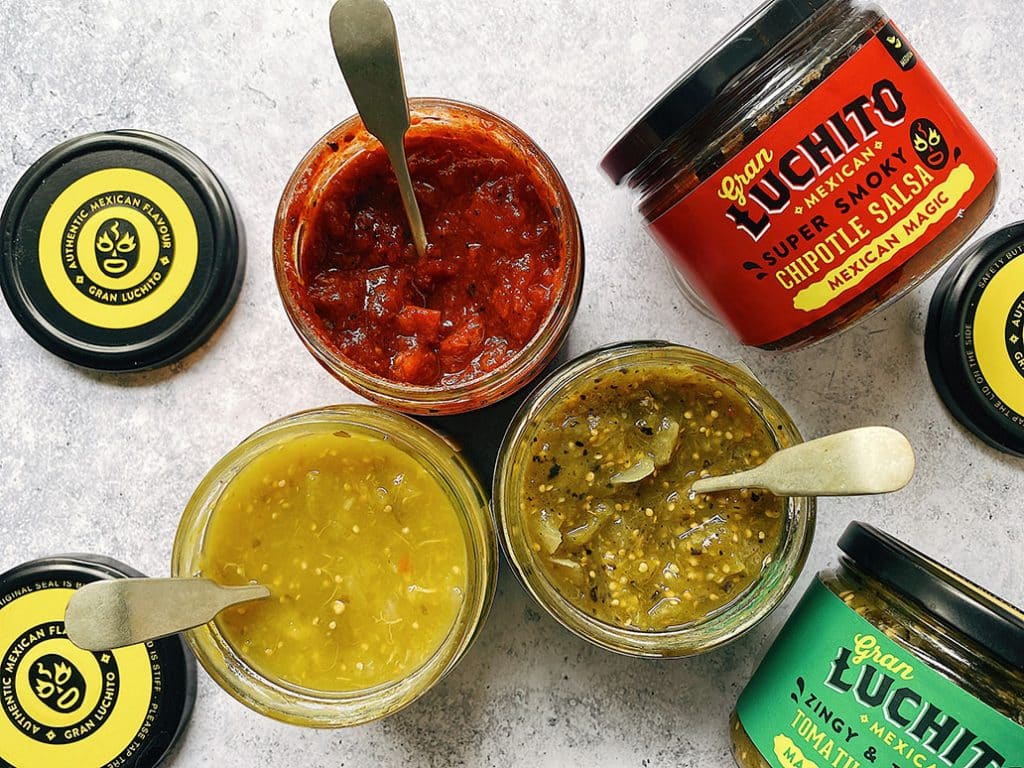
- Salsa (we love putting on our spicy Mango Salsa)
Our favourite fajita toppings include:
Read more: What To Serve With Fajitas
Can You Freeze Fajitas?
You sure can! You can freeze your chicken and vegetables separately (if uncooked), in separate little plastic bags, to cook at a later date. Or if the ingredients are all cooked already, you can just pop it all in one plastic bag to reheat another time. The best way to defrost the ingredients would be to pull out the bag from the freezer the night before or the morning of the night you want to use it. To reheat it, simply put the chicken and vegetables into a non-stick pan and reheat over medium heat while stirring occasionally. You could also microwave it!

It is also very easy to freeze tortilla wraps if you have a few leftovers. The smart way to do it is to put them in a big sealed plastic bag, lying flat, with each wrap separated from the other! Then, when defrosting, you can either just take the whole bag out of the freezer and do them all at the same time, or just take individual ones.


We hope you’ve enjoyed reading this and it’s inspired you to try something fun out at home. We would love to see what you get up to in the kitchen over the next few weeks! Don’t forget to tag us #granluchito.
For more blogs like this one, please check out: